Get up and running in three simple steps.
This guide walks you through everything you need to start sending campaigns through GC Tech's 2-Way WhatsApp Blasting system — from one-time Meta business verification to building your first test campaign. Each step takes 2–5 minutes.
Verify Your Business on Meta Business Manager
Before you can send your first WhatsApp campaign through our system, Meta requires that your business is verified inside their Business Manager. This is a one-time step — once verified, you'll never need to do it again. Without verification, your campaigns will be blocked by Meta's policy enforcement and your WhatsApp Business number can be suspended.
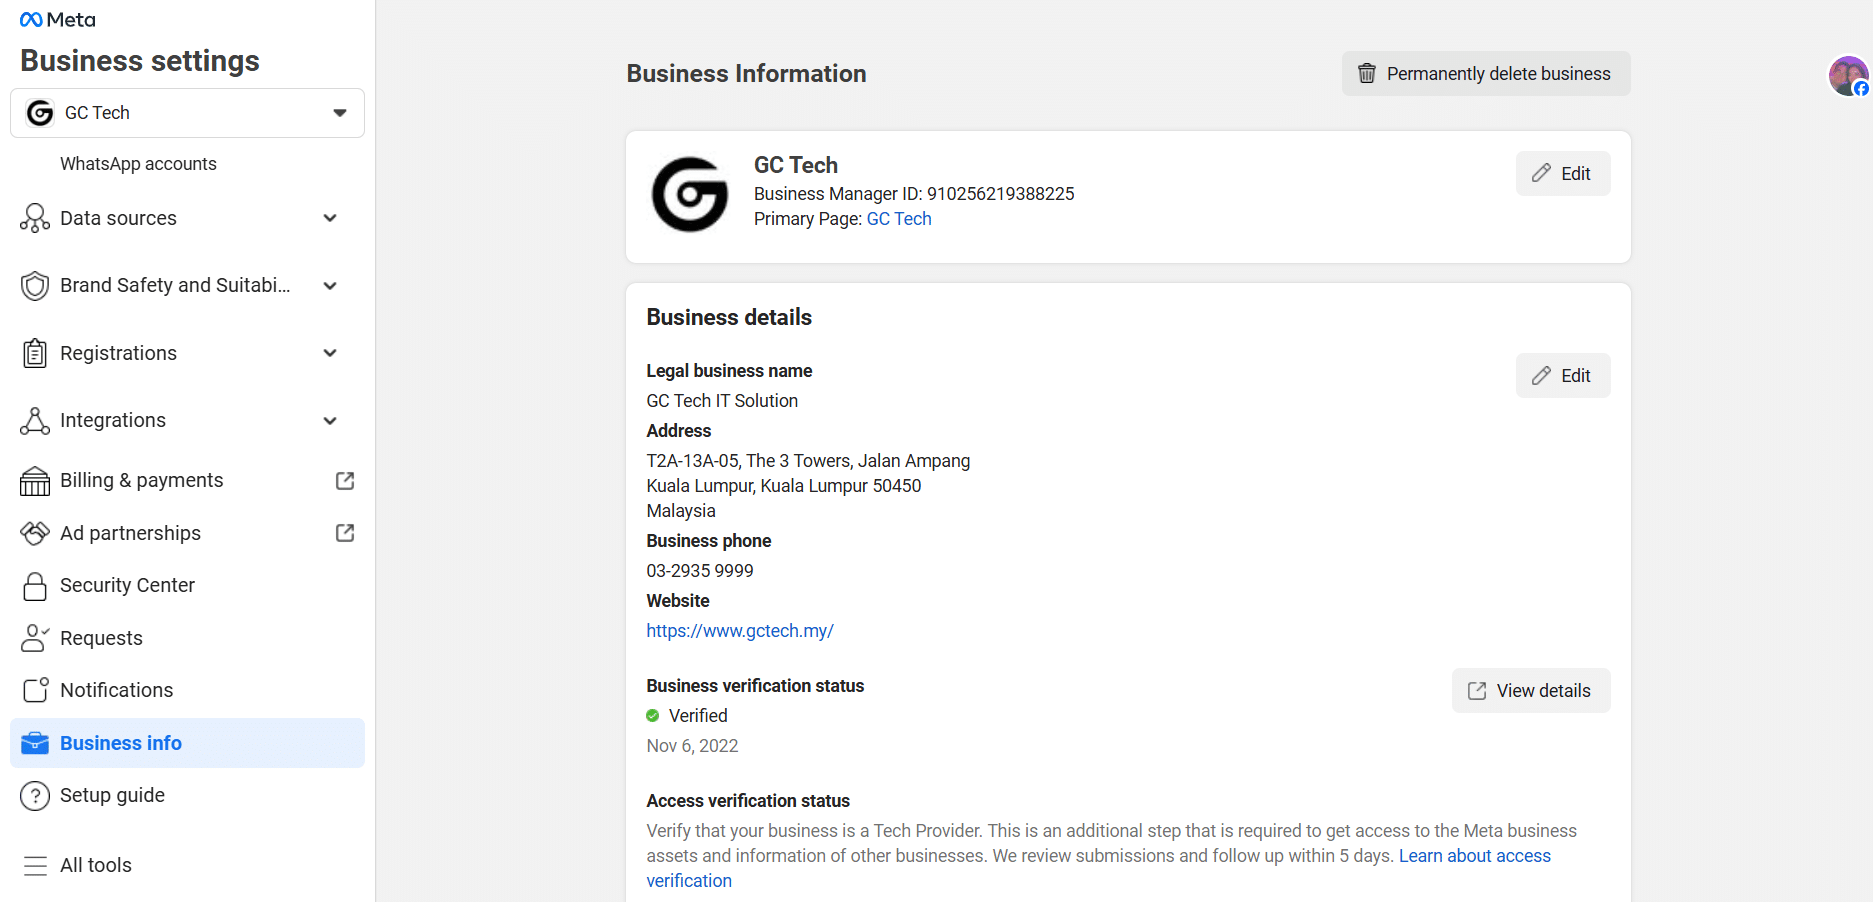
What to do at the link below
- 1Click the button to open Meta Business Manager in a new tab — sign in with your Facebook account if prompted.
- 2Navigate to Business Info in the left sidebar (or use the direct link below).
- 3Make sure your legal business name, registration number, and address all match your SSM documents exactly.
- 4Upload supporting documents if Meta requests them — usually SSM Form 9 / 24, utility bill, or bank statement.
- 5Wait for Meta to approve (usually 1–3 business days). You'll get an email when verified.
Don't have a Business Manager yet? Message us on WhatsApp and we'll guide you through creating one — it's free and takes about 10 minutes.
Three steps,
one working campaign.
Once your Meta verification is approved, follow these three video tutorials in order. Each is short and shows you exactly what to click — no guesswork.
Create Your Contacts
First, build your contact list inside the dashboard. You can add contacts one by one or bulk-import a CSV. The most important field here is the tag — tags decide who receives which campaign later, so plan them carefully.
Tags determine who gets the message
Think of tags as audience segments. Use consistent names like customer, lead-new, vip, or event-2026. When you send a campaign, you pick which tag to blast — only contacts with that tag receive the message.
- ✓ Add name, phone number, and optional fields (email, notes)
- ✓ Assign at least one tag per contact (you can add multiple)
- ✓ Bulk-import via CSV if you have a large list
- ✓ Tags are case-sensitive — stay consistent (
VIP≠vip)
Build a Template
WhatsApp Business API requires all marketing messages to use pre-approved templates. This is a Meta rule, not ours — it's how WhatsApp prevents spam on their platform. Templates take a few minutes to design and need Meta's approval (usually within an hour, sometimes up to 24 hours).
What makes a template approvable
Keep messages clear, useful, and non-spammy. Avoid ALL CAPS, excessive emoji, vague promotional language, or anything resembling phishing. Promotional templates are fine — just write them as a real business would, not a sketchy SMS blast.
- ✓ Choose a category — Marketing, Utility, or Authentication
- ✓ Use variables like
{{1}},{{2}}to personalize each send - ✓ Add header (text or image), body, footer, and CTA buttons
- ✓ Submit for Meta approval — most approve within 1 hour
Send a Test Campaign
Before you blast to your whole list, send a test to yourself or a small "test" tag with 2–3 phone numbers you control. This catches typos, broken variable substitution, image issues, and broken CTA buttons before they reach 5,000 customers.
Never skip the test send
WhatsApp counts every message sent against your messaging quota — including mistakes. A test send to 3 numbers costs almost nothing; a bad campaign blast to 5,000 numbers costs real money and damages your sender reputation.
- ✓ Create a tag called
testwith 2–3 of your own numbers - ✓ Build your campaign and pick the
testtag as audience - ✓ Send and check on each test phone — variables, images, buttons all working?
- ✓ Once happy, duplicate the campaign and switch the tag to your real audience
Six things to know
before your first big blast.
These aren't in the videos — they're the lessons every operator learns the hard way. Read them now and you'll skip the painful versions.
Plan your tags before importing
Decide on your tag taxonomy (e.g. customer, lead, vip, cold, event-x) before bulk-importing. Renaming tags after the fact is tedious.
Send during business hours
Avoid blasting between 10pm–8am. WhatsApp's spam detection penalizes off-hour sends and your open rates drop dramatically anyway.
Segment, don't blast-all
Sending the same message to everyone is the fastest way to get reported. Use tags to send relevant messages to relevant audiences.
Optimize header images
Keep template header images under 5MB and at 1.91:1 aspect ratio. Compress them — slow images delay delivery and frustrate recipients.
Reply to incoming messages fast
The "2-Way" part means customers can reply. Set up an internal SLA — replies within 1 hour during business hours keep your quality rating high.
Watch your quality rating
Check your WhatsApp Business quality rating weekly in the dashboard. If it drops to Medium or Low, slow down and review what's getting blocked or reported.
Stuck on a step?
We're a WhatsApp message away.
The whole point of working with GC Tech is that you're not on your own. If anything in this guide doesn't match what you see on screen, or Meta is rejecting your verification, or your template keeps getting denied — just message us. We'll walk you through it personally.